The Process of Installing Polyaspartic Flooring in 10 Steps
Polyaspartic flooring is a durable and decorative flooring option becoming increasingly popular for garages, basements, warehouses, and more. Installing it takes careful preparation and precision. Follow these 10 steps for a smooth polyaspartic flooring installation.
- Clean and Prepare the Surface
Thoroughly clean the concrete surface, removing any dirt, grease, oil, or existing coatings. Any contaminants left on the surface can prevent proper bonding. Use a pressure washer or chemical cleaners as needed. Grind down any high spots and fill cracks with concrete filler. - Mask Off Surrounding Areas
Use painter’s tape and plastic sheeting to mask off any walls, cabinetry, or other adjacent surfaces you don’t want to be coated. This keeps them protected from drips and overspray. - Apply Primer
Once the surface is clean and prepped, apply the recommended polyaspartic primer according to the manufacturer’s instructions. This helps ensure maximum adhesion. Allow the primer to fully dry. - Mix the Polyaspartic Resin
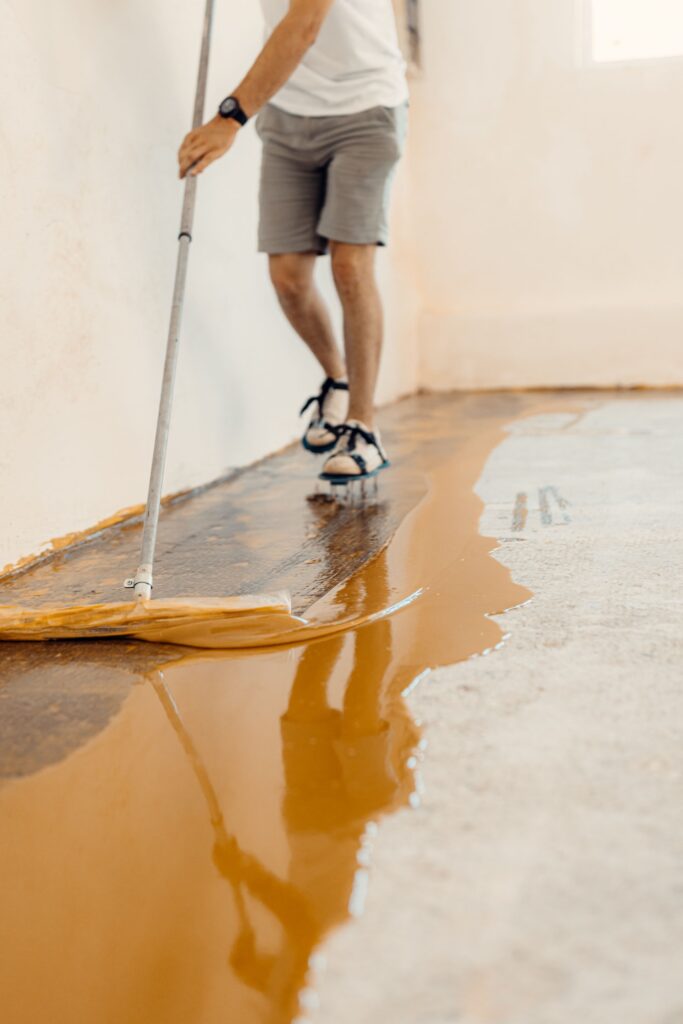
Pour part A and part B of the resin together in the proper ratios. Thoroughly mix together for 2-3 minutes using a low-speed drill. Mix only as much as you can use within the 30-60 minute pot life. - Spread Resin with a Squeegee
Pour the resin onto the floor and use a notched squeegee to spread it evenly across the surface at the desired thickness. Spread evenly and work quickly within the pot life. - Backroll the Wet Resin
Go over the freshly squeegeed area with a short nap roller to ensure even coverage and a smooth finish. Move quickly to stay within the pot life window. - Broadcast Flakes (Optional)
If adding decorative flakes, broadcast them onto the wet resin immediately after backrolling. Let the flakes settle, then lightly backroll to adhere. - Apply Second Coat
After the first coat has cured (typically 2-3 hours), mix and apply a second coat following the same squeegee, backroll, and flake application process. This seals the flakes in and builds added thickness. - Remove Tape and Clean Up
Once fully cured (12-24 hours), carefully remove all painter’s tape and plastic. Clean tools and surfaces promptly with the recommended solvent. - Enjoy Your New Floor!
Your polyaspartic flooring will cure fully in about 72 hours. Avoid heavy use during this time. Then enjoy the incredible durability, decoration, and protection of your new flooring system.