You’re probably an expert when it comes to doing epoxy flooring, but considering that there are still some newbies out there who may need this kind of knowledge, let’s share a little bit about this topic。

The polyaspartic flooring process involves several steps, including surface preparation, priming, base coat application, decorative options (if desired), top coat application, and post-application considerations. Here’s a general overview of how to do the polyaspartic flooring process:
- Surface Preparation:
- Clean the concrete surface thoroughly, removing any dirt, dust, oil, grease, or other contaminants.
- Repair any cracks or imperfections on the concrete using appropriate patching materials.
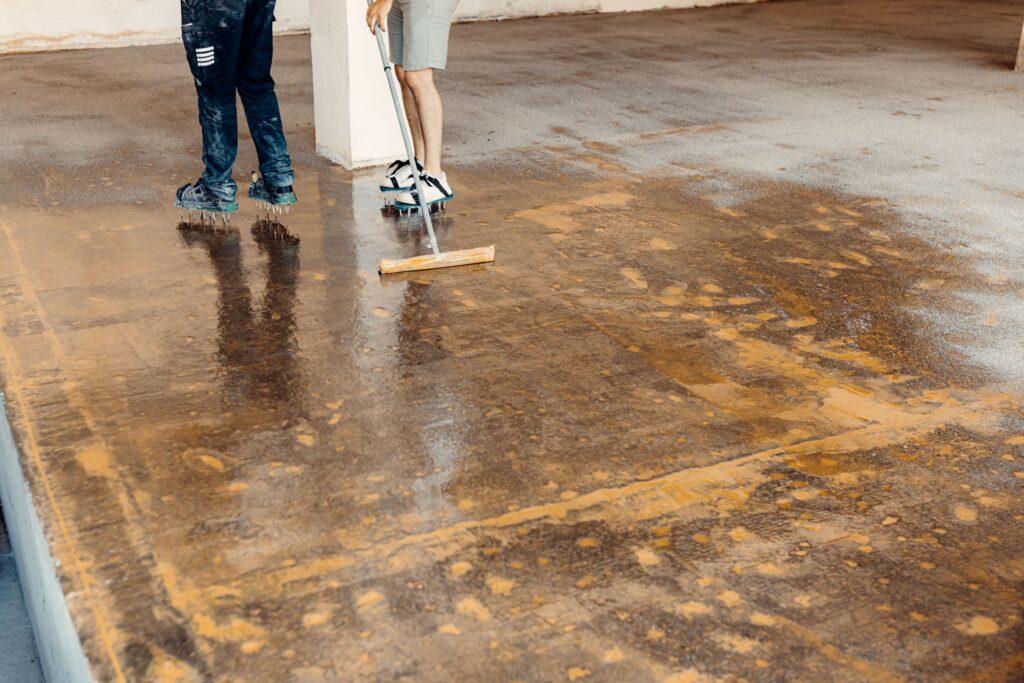
- Profile the surface using methods such as shot blasting, diamond grinding, or acid etching to create a rough texture for better adhesion.
- Priming:
- Apply a suitable RESINOO primer epoxy designed for use with polyaspartic coatings. The primer helps enhance adhesion to the concrete substrate.

- Base Coat Application:
- Mix the polyaspartic base coat components according to RESINOO’s instructions and recommended mixing ratio.
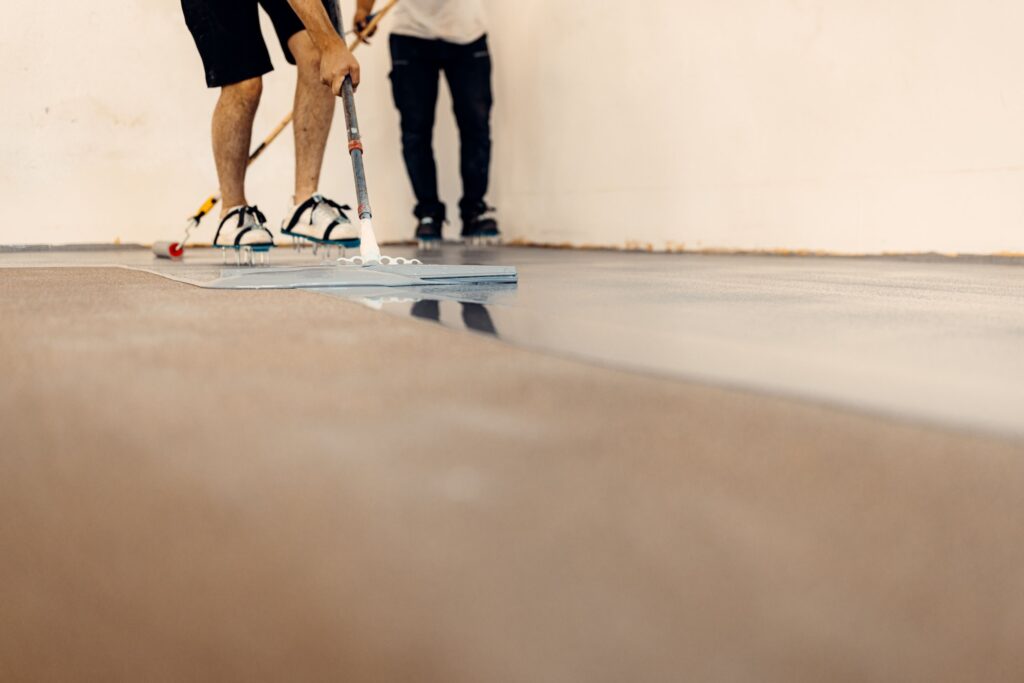
- Using a roller or squeegee, apply the base coat evenly across the prepared surface. Work quickly, as polyaspartic coatings cure rapidly.
- Decorative Options (Optional):
- If you desire a decorative finish, you can use epoxy resin to add color flakes, metallic pigments, quartz aggregates, or other decorative elements to the wet base coat.
- Broadcast the decorative elements onto the base coat while it is still wet. Use as much or as little as you prefer to achieve the desired appearance.
- Top Coat Application:
- Once the base coat is fully cured, normally it takes 24 hours to mix the polyaspartic top coat.
- Apply the top coat evenly over the base coat, ensuring full coverage and a smooth finish. Use a roller or squeegee for this step.
- Curing Time:
- Polyaspartic coatings cure quickly, so follow the manufacturer’s guidelines for curing time before allowing foot traffic or other loads on the floor.
- Keep the area well-ventilated during the curing process to dissipate any fumes or vapors.
- Post-Application Considerations:
- After the coating has fully cured, inspect the floor for any imperfections or areas that may need touch-ups.
- If necessary, perform any required touch-ups or repairs to ensure the floor’s integrity and appearance.
It’s important to note that the exact polyaspartic flooring process may vary depending on the specific product you are using and the performance required. Always refer to the RESINOO’s technical data sheets and guidelines for the particular polyaspartic coating you choose to ensure proper application and performance.

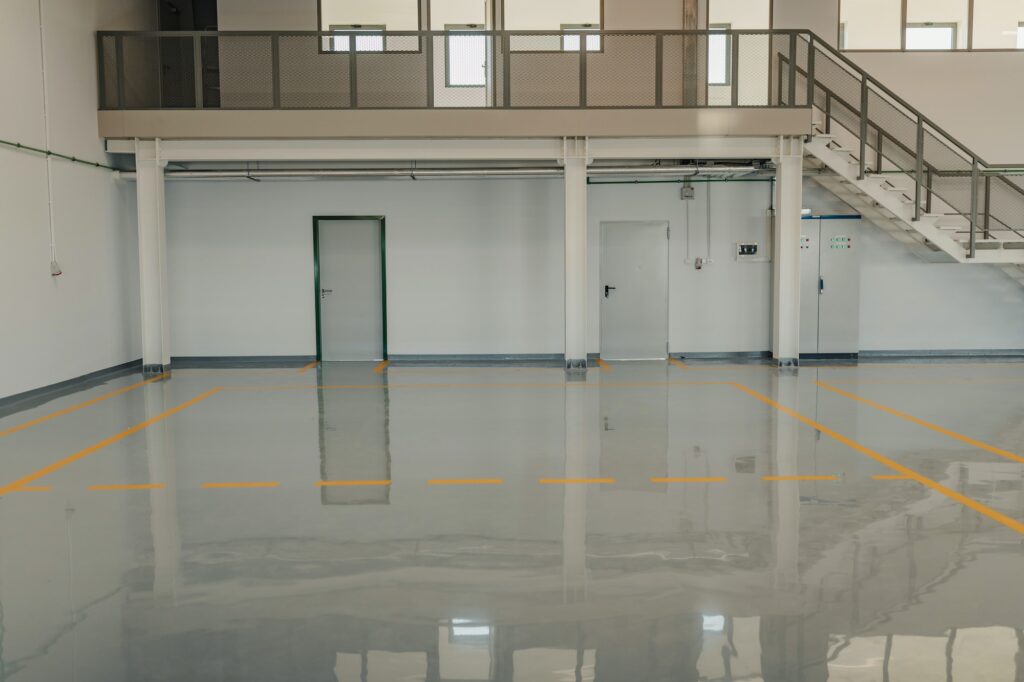
Additionally, it’s recommended to have a trained professional or experienced contractor handle the installation, especially if you are not familiar with working with polyaspartic coatings. They can ensure that the process is done correctly and efficiently, resulting in a high-quality, long-lasting polyaspartic floor.
- Melap Portugal — guia de casinos online licenciados e também sites para apostas dentro de território português
- Znaki Sverige: nyheter om de verksamheter som påverkar den moderna världsbilden
- Best Pills for Erection: Your Comprehensive Guide to Enhanced Performance
- TOP 6 Epoxy Resin Applications in 3C Electronics Industry
- The Role of Epoxy Resin in Enhancing Electronics: Applications and Benefits