Epoxy flooring is renowned for its durability and aesthetic appeal, making it a popular choice for a variety of commercial and industrial spaces. However, achieving the best results with epoxy flooring hinges on proper surface preparation. In this article, we will guide you through the essential steps to ensure your concrete surface is well-prepared for a successful epoxy flooring installation.
Step 1: Evaluate the Concrete Condition
Before you begin the preparation process, assess the condition of the concrete. Look for cracks, chips, and any signs of damage. These imperfections can compromise the adhesion of the epoxy coating. It’s essential to address these issues before proceeding.
Step 2: Clean the Surface Thoroughly
Effective cleaning is the foundation of proper surface preparation. Remove all dirt, dust, grease, and contaminants from the concrete. A combination of vacuuming, sweeping, and scrubbing with a mild detergent can help achieve a clean surface. For more stubborn stains, consider using a degreaser.
Step 3: Repair Cracks and Imperfections
Repair any cracks or imperfections in the concrete using an appropriate patching material. This step is crucial for achieving a smooth and even epoxy coating. Follow the manufacturer’s instructions for the patching material and allow sufficient drying time before moving to the next step.
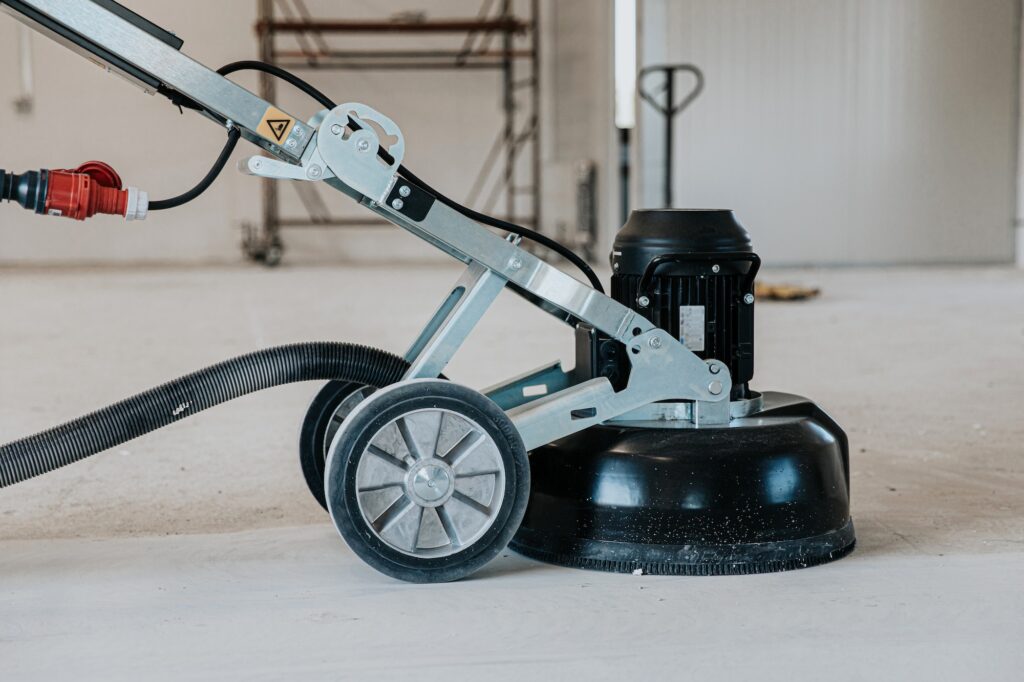
Step 4: Profile the Surface
To enhance epoxy adhesion, you need to create a rough profile on the concrete surface. This can be achieved through methods like shot blasting, diamond grinding, or acid etching. The chosen method will depend on the condition of the concrete and the epoxy product you’re using. Profiling opens up the pores of the concrete, allowing for better penetration of the epoxy.
Step 5: Address Moisture Issues
Moisture can adversely affect the adhesion and longevity of epoxy flooring. Perform a moisture test on the concrete surface to identify any moisture issues. If high moisture levels are detected, consider using a moisture barrier or taking appropriate measures to mitigate moisture-related problems.
Step 6: Test Adhesion Compatibility
Before applying the epoxy coating to the entire surface, it’s advisable to perform an adhesion test in a small, inconspicuous area. This test ensures that the epoxy will bond effectively to the prepared concrete surface.
Step 7: Vacuum and Clean Again
After profiling and testing, thoroughly vacuum and clean the surface once more to remove any debris or dust generated during the preparation process. A clean surface ensures optimal bonding of the epoxy coating.
By diligently following these preparation steps, you set the stage for a successful epoxy flooring installation. Properly prepared concrete provides a strong foundation for the epoxy to adhere, resulting in a durable, long-lasting, and visually appealing flooring solution. Remember that each step contributes to the overall quality of the finished epoxy flooring, so take your time and ensure meticulous execution.